Free Shipping
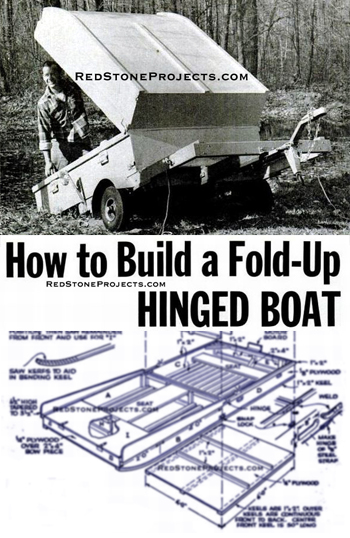
How to Build a Fold Up
Hinged Boat
Plans for a Portable Boat that Doubles
as a Waterproof Car Top Carrier
|
How to Build a Fold Up Hinged Boat
Plans for a Portable Boat that Doubles as a Waterproof
Car Top Carrier
 |
PDF Format |
|
|
All Orders Processed
On a Secure Server
|
Price $12.95
|
|
Get a restored copy of these Vintage Plans to Build
a Fold Up Hinged Boat with 10 Pages of Enhanced and Enlarged
Figures and Illustrations and Searchable Text.
|
We will email these plans, to the address provided
with your payment, within 48 hours following receipt of your order.
|
|
|More
Vintage Boat Plans|
|
|

|
|

|
|
|
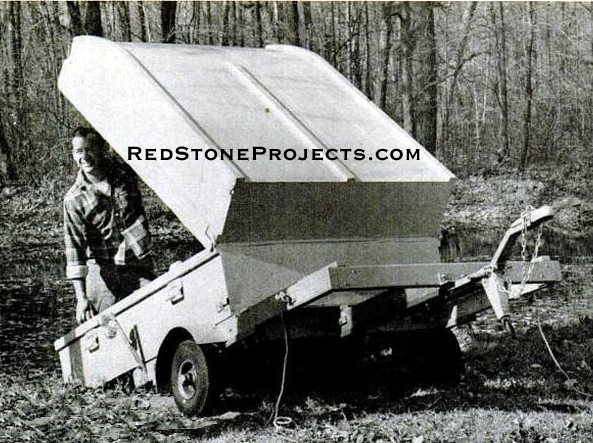
1. Unfolding this hinged boat is just about
all you have to do to ready it for launching. And the weathertight compartment
will hold a lot of your gear while you're getting to the water.
|
| Every boat I'd ever built had some drawback. It was either
too big or too small, too heavy or not solid enough for the water I wanted
to use it on, or too difficult to take along on a camping trip with all
the other gear needed for my family.
There were also times when I lugged a bulky boat around
for weeks without using it, and other occasions when I didn't bring one
along and wished I had.
But now I have the perfect boat for my camping trips and
I hit upon it by sheer luck. It started out as a 4-foot-by-6-foot car-top
box with a cover for carrying camping equipment. While I was building it,
I decided it could be made watertight - and then it was easy enough to
visualize it as a boat, one that would solve its own hauling problem. |
|
|
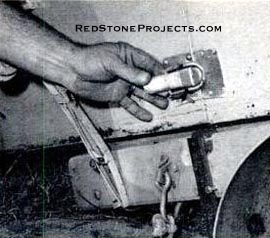
2. Snaps hold the halves of the boat rigid.
The author has used it unfastened without noticing any difference in the
boat's seaworthiness.
|
| My hinged boat does double duty: It makes camping trips
a breeze by serving as a big, carry everything trailer, and when unloaded
it becomes a roomy boat that's perfect for fishing - or just getting out
on the water. It's simple to build because it's basically two boxes joined
together. |
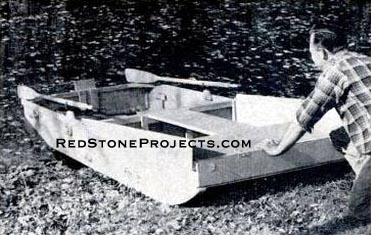 |
3. Plywood makes it light - one man can take
it off car top or trailer and push it into the water. Skids on the bottom
make it easy to slide the boat
off the trailer and haul it along the ground. It goes
back up without trouble, too.
|
| Start by building the rear section. Lay
out a 4-foot-by-8-foot sheet of 1/4-in. exterior-grade plywood and cut
the side and end pieces. The kerf of the saw will make the four pieces
just under 12-in. wide.
Glue and nail a one-by-two furring strip along the bottom
edge of each side, leaving 1/4-in. of plywood extending on each end. Then
glue and nail the furring strips to the ends, again leaving a 1/4-in. space
from the edge of the plywood. I used a small piece of 1/4 plywood as a gauge
to keep the spacing even. |
|
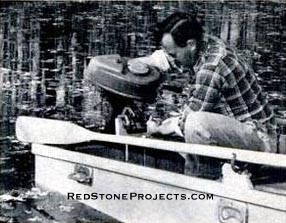
4. It floats like a cork in water, but is
surprisingly
rugged. You can use the muscle power of oars, or attach
an outboard to the board designed to keep the prop off rocks.
|
| Place the l-in.-by-2-in.-by-6-ft. rub rail along the
outside top edge of each side piece and fasten it on with boat nails.
The transom and end pieces are put together in the same
way, except for an added one-by-two strip to strengthen the center of the
transom. |
|
|
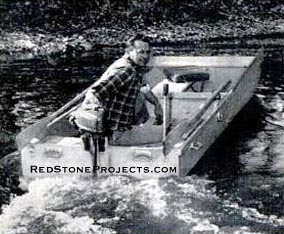
5. A 2 1/2-hp. motor powers the hinged boat
for trolling (above). It isn't intended for speed, but it's hard to beat
for leisurely fishing, or just
cruising around in the sun.
|
| Frame off the rest of the end and transom, and assemble
the ends and sides, keeping the bottom edges even at each corner. Now brush
on a layer of waterproof glue on all flush parts of the ends and sides,
and nail the bottom in place.
The keels are then nailed to the bottom, the center one
from the inside and the two outer ones from the bottom.
Angle in three pieces as knees: one from the transom to
the bottom, and one in each corner from the transom to the sides. Attach
the motor board to the transom with carriage bolts. |
|
|
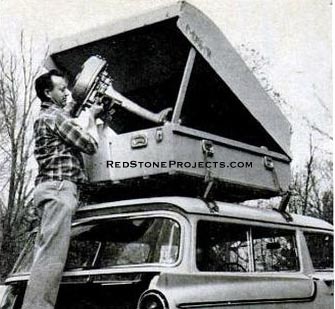
For short trips, you can hoist the boat atop
your car. It won't affect maneuverability while driving, even when fully
loaded, and it saves the trouble of hauling a trailer.
|
| You can stiffen the bottom by running one-by-two crosspieces
on 2-foot centers across the inside.
You build the front section in the same way, except for
the curved bow. When you cut the sides, start the curve 2 feet from the
bow and 3-in. from the top at the bow. Glue and nail the one-by-two chines
in place. Where they run off the curve, nail a one-by-two piece to fit
against the chine and up the curve. Clamp the sides together, chine to
chine, and shape the chines evenly. |
|
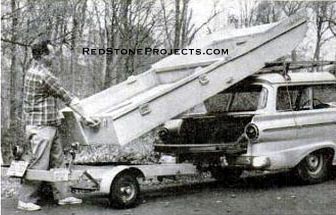
Slide the boat on fully open, as above, and
load it up with your supplies and equipment before
folding it shut. When closed, the unit will keep everything
inside dry and secure.
|
| Glue and nail the sides, end, and bow together, and nail
the bottom on. After the bottom is in place, saw off the excess and use
the piece as the hinged cover on the bow. It will give you a deck to sit
on, besides covering the front compartment. I put a red-and-green running
light on the inside of the cover so that the light shows only when the
cover is open.
The hinging job. I made the hinge that joins
the two sections from 1/8-in.-by-1-in. strap iron, but perhaps you could
buy one ready-made. The hinge pin must be located at the top edge of the
two boxes, centered exactly between the halves. This ensures that the top
edges meet evenly when the boat is folded and makes it weathertight. |
 |
|
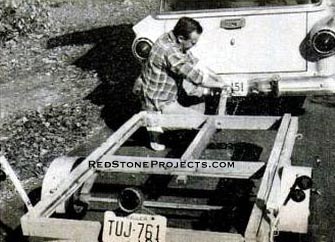
Trailer, designed for the boat, is simple
and sturdy. It's made basically of two-by-fours held together with angle
irons at each corner, as shown in the photograph below.
|
| Place the front seat in the center of the boat and the
rear one about 8-in. forward of the transom to make it easier to handle
the outboard. A slat floor will keep tackle and equipment dry and off the
bottom.
This is just a utility craft and isn't meant to win any
beauty contests, so just add what you need and leave off anything that
doesn't suit you.
The dimensions of the trailer must suit the boat you build.
If you decide to build a smaller boat, the trailer will have to be modified
for fit.
The trailer has proved itself a very reliable rig, following
well, and easy to move around by hand. The single spring, cut in half,
will provide sufficient cushioning to keep the boat and your supplies from
bouncing around too much.
You don't have to worry about the hinged boat being in
the way during non-boating months. You can use the back half of the trailer
to cart leaves or sand. This is a boat that doesn't ever have to be dry-docked.
I've even used it as a sled for kids in the winter. You're
bound to discover other uses for it yourself. It's a perfect all-year companion
for fishermen, hunters, and campers. |
|
Fold
Up Hinged Boat and Trailer Plans Detailed Construction with Dimensions
|
Get a restored copy of these Vintage Plans to Build
a Fold Up Hinged Boat with 10 Pages of Enhanced and Enlarged
Figures and Illustrations and Searchable Text.
All Orders Processed
On a Secure Server
|
|
